Optimal accuracy of fit
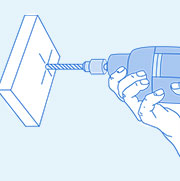
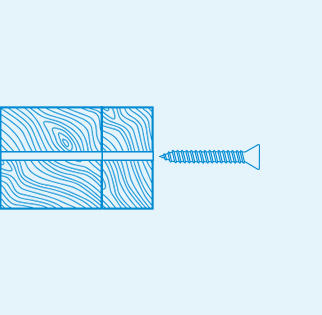
As wood is a natural product, its volume changes as it dries out or absorbs moisture, so we recommend you drill some wooden elements yourself to ensure a precise fit and stability.
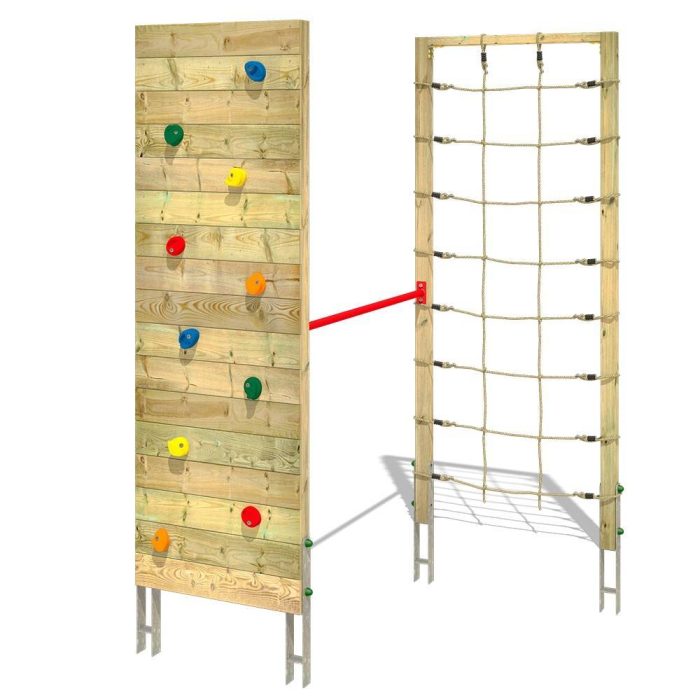
Stand-alone climbing combination
... show more
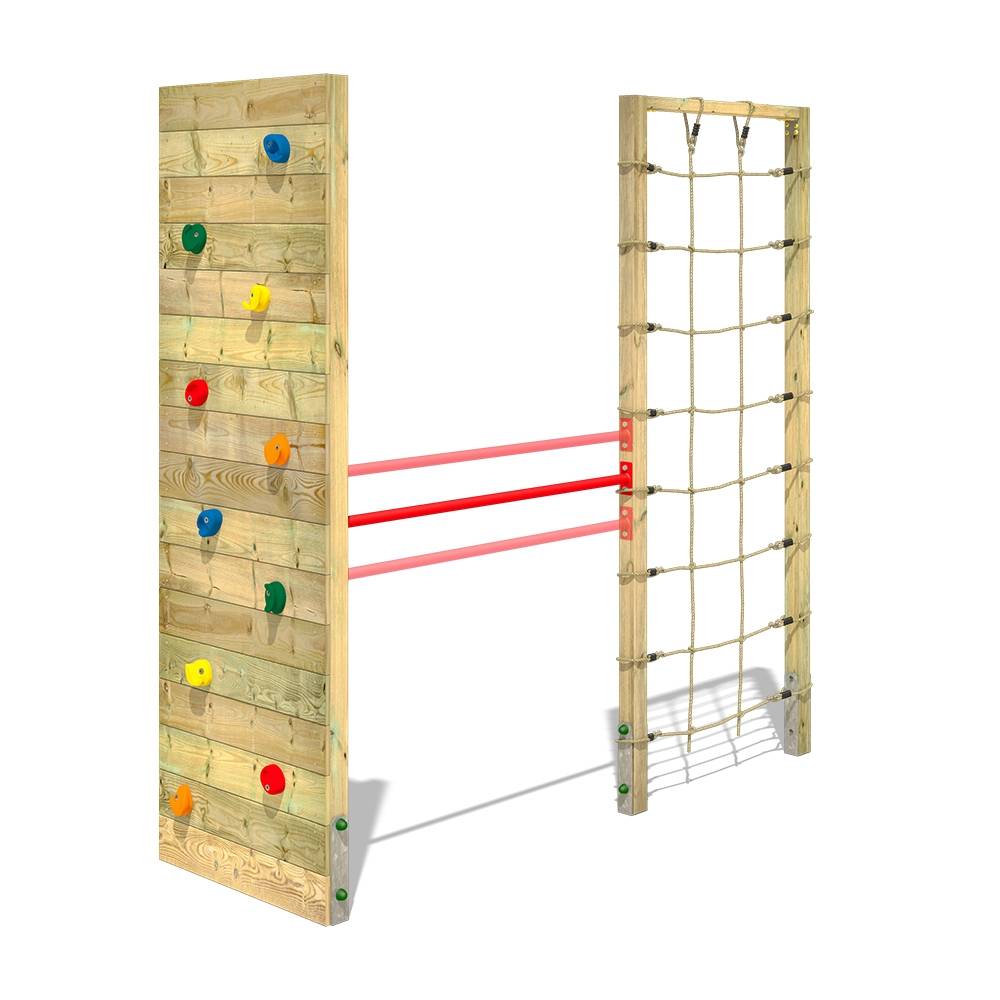
On an exploration tour through the jungle, the adventurers discover a lively gang of monkeys. Fortunately, they always carry a camera to capture these moments. The monkeys swing from the steep mountain wall over to the lianes. The adventurers take the most amazing pictures of a bustling little monkey demonstrating breathtaking acts on a branch.
The stand-alone climbing frame Wickey Smart Combo offers game, fun and challenge. With its compact design, even smaller gardens turn into fantastic climbing parks with many possibilities. The frame can be extended and combined with lots of accessories, so many years of fun are guaranteed.
Wickey – Create your own adventure!
Product details
Note: The climbing combination must be fixed in concrete with the provided anchors
Learn here, what makes Wickey so special.
| SKU | 621088 |
|---|---|
| LxWxH | 140x165x270 cm |
As wood is a natural product, its volume changes as it dries out or absorbs moisture, so we recommend you drill some wooden elements yourself to ensure a precise fit and stability.

Not recommended for children under 3 years of age
The play equipment must be secured with anchors set in concrete in the ground
For domestic use only under direct adult supervision
The indicated measurements and colours may vary slightly
¹ The specified guarantee applies to all wooden parts. Additional information regarding the scope of the guarantee and its assertion can be found in our guarantee declaration.
At Wickey, we verify that all published reviews are from consumers who have actually purchased and/or used the products that we offer. The verification is done based on the order number. The following reviews are from all Wickey shops and are all included in the overall rating.
Solid spruce and pine wood from Europe give our playground equipment its individual character. As a sustainable material, they offer a natural look and are particularly durable outdoors. We place special emphasis on the responsible use and quality of our wood to ensure that your children can play safely.
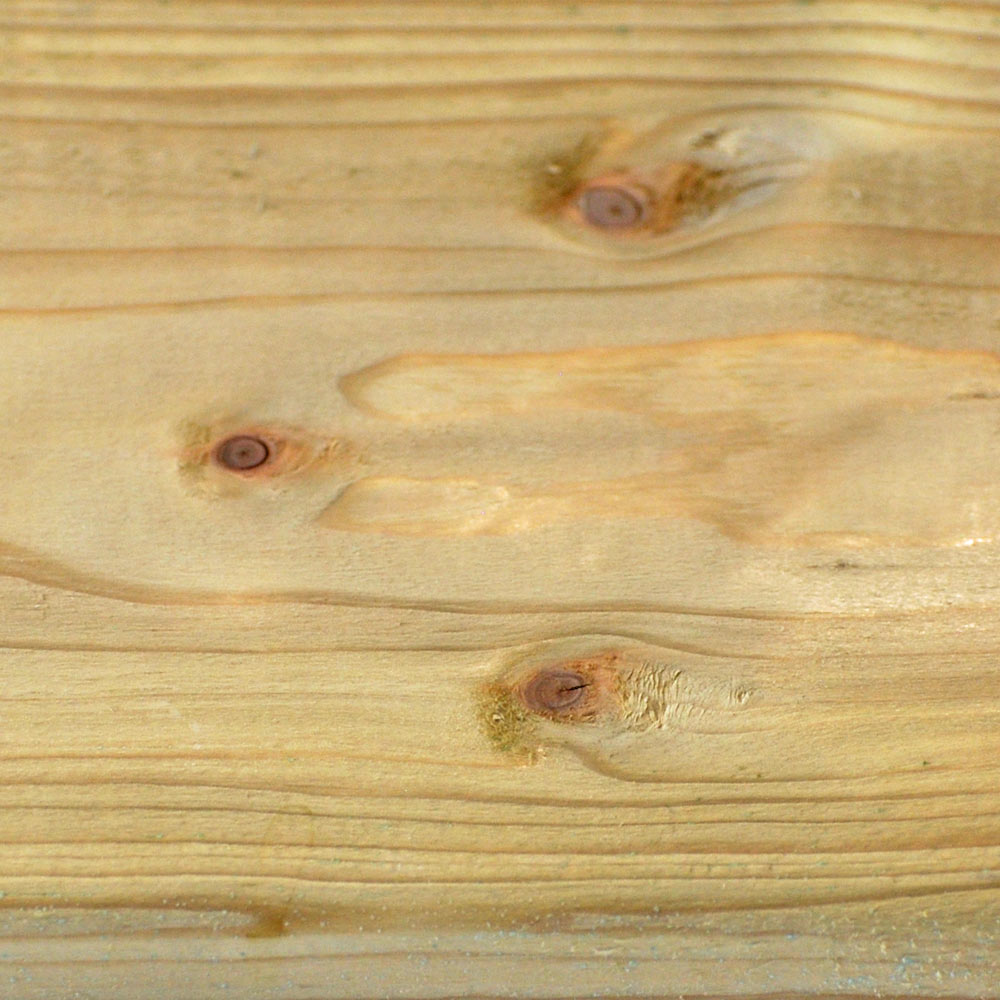
Cracks that are according to the norm do not affect the stability of the wood and can shrink if the wood expands more in damp weather.
In our assembly video, you will find many helpful tips for the assembly of your climbing frame!
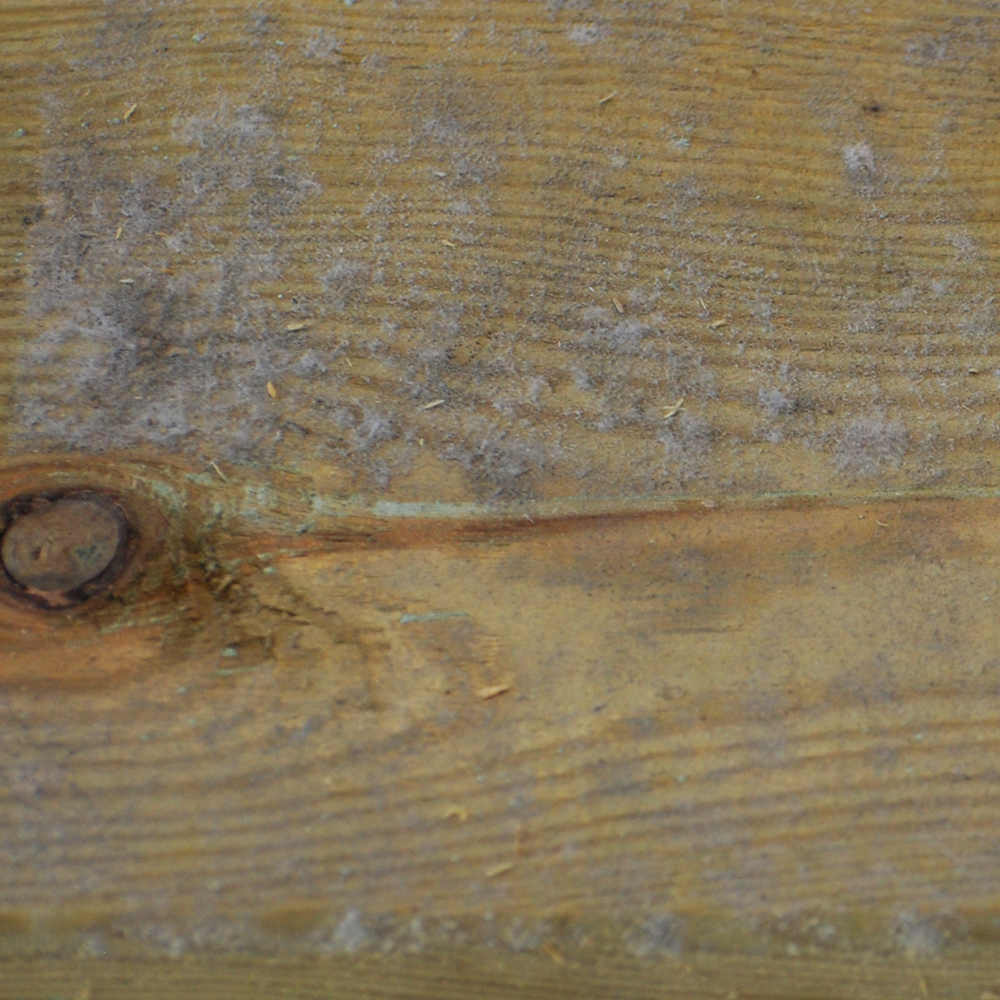
Heavily affected areas can be lightly sanded!
Do you prefer things to be colourful? Choose a colour that is safe for children and the environment, certified according to DIN EN 71 Part 3.
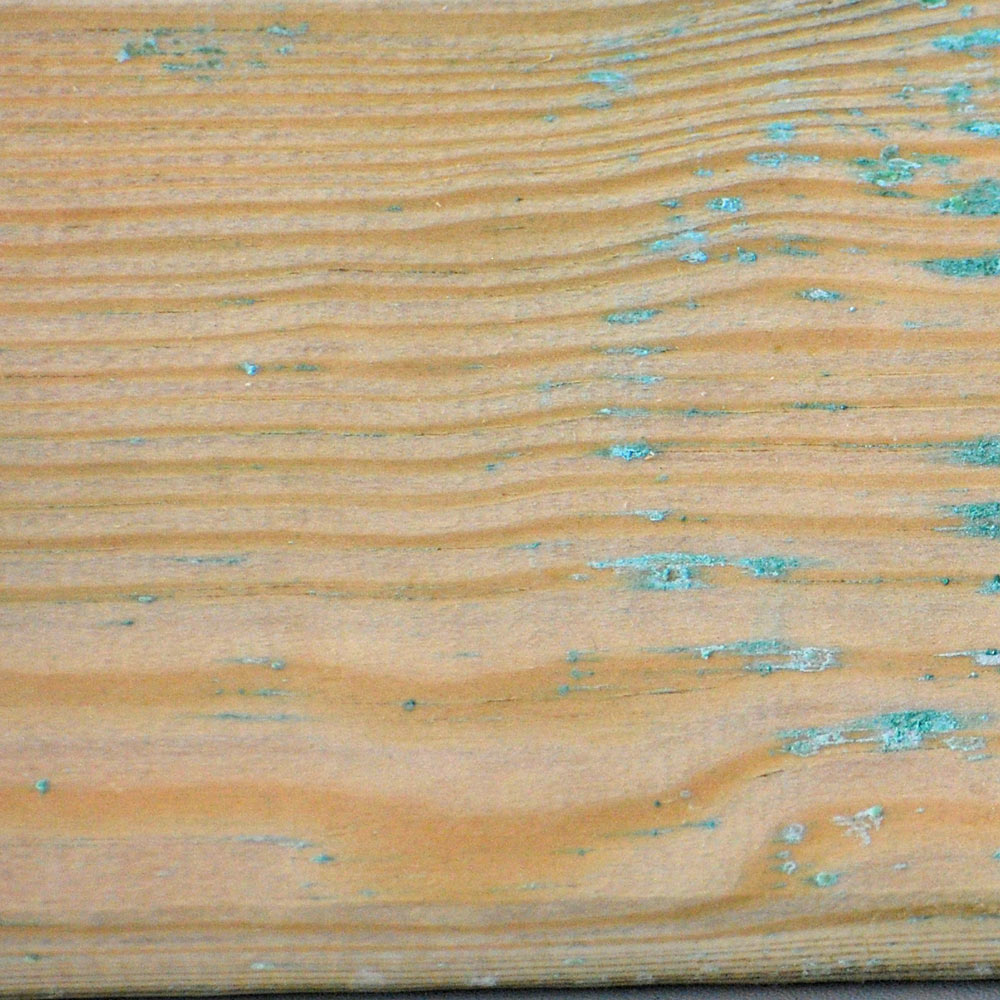
Immediately unpack the wood and allow it to dry for at least 2 days so that any moisture from the impregnation process is completely gone from the wood. This ensures optimal conditions for the next steps and the longevity of the wood.
